

Add a little sparkle to your Easter egg hunt this year! These glittery Easter eggs are sure to be the most prized of all. Here’s how to make them in just four steps.
1. PREPARE: Setup your workspace in a well-ventilated area, like your garage, and spread out a drop cloth to protect from overspray. Make sure your plastic eggs are clean and dry before beginning to spray.
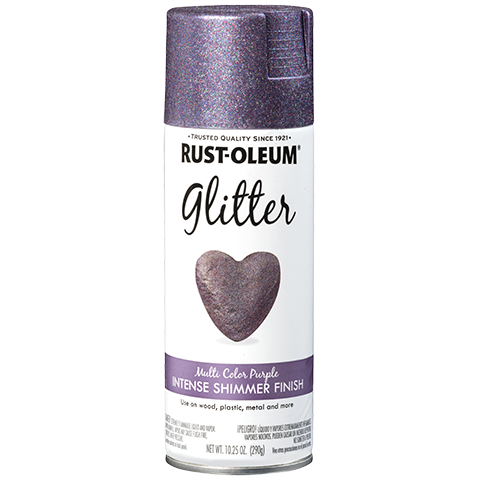
2. PAINT: Open each egg and place the halves flat on the drop cloth (open end down). Next, shake your can of Rust-Oleum Glitter spray paint in Bright Pink for one minute after the mixing ball starts to rattle. Hold the can upright 12-14” away from the eggs, and spray in a sweeping motion. Apply two or more light coats a few minutes apart to one-third of the eggs, and set them aside to dry. Repeat this step with the remaining eggs, spraying them in Silver and Multicolor Purple Glitter spray paint. Let all of your eggs dry for about 20 minutes.
3. SEAL: To keep your glitter from flaking, you’ll want to seal it with Rust-Oleum Glitter Clear Sealer. To do this, first shake your can for one minute after the mixing ball starts to rattle. Then, use the same technique you used to apply the glitter to spray a few light coats of sealer onto the eggs.
4. FINISH: Let your eggs dry completely for 24 hours before handling. Reassemble the pieces and put your glitter painted eggs on display or use for your Easter egg hunt.
Products in this Project
Other Materials:
- Plastic Eggs
- Drop cloth
Discover More Projects
Locate a Rust-Oleum Retailer
