
After

Before
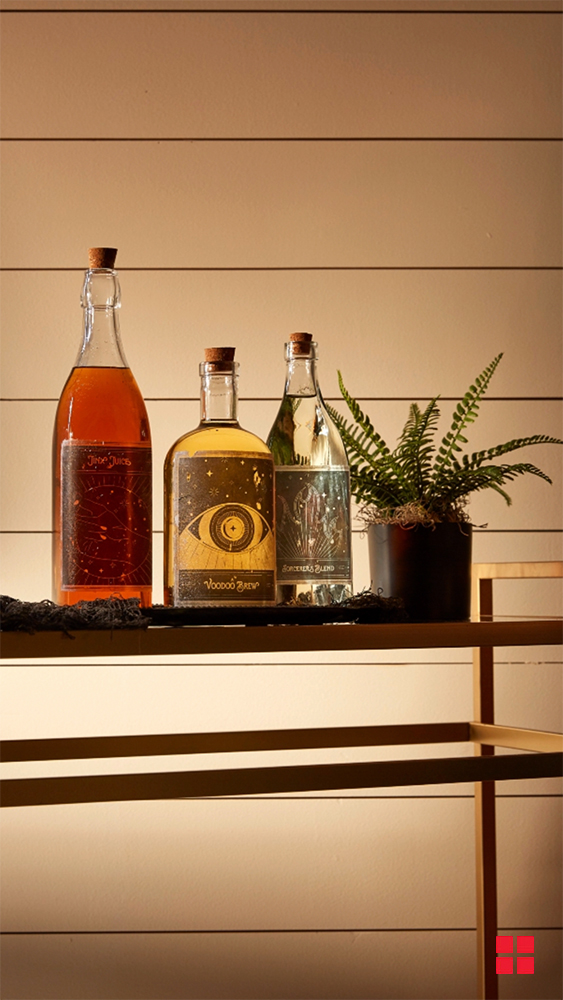
Potion bottles make a great addition to any Halloween display. See how you can print and apply custom labels to your potion bottles with just a few supplies.
- Clean and thoroughly dry your glass bottles. Try not to get fingerprints on the area you will apply Photo Transfer.
- Print your potion labels on standard paper using a laser printer. Hint: Before printing, flip your images horizontally, so it looks like a mirror of the original. This way the words will read correctly once transferred.
- Brush a generous amount of Photo Transfer on the printed side of the photo.
- Place image printed side down on glass bottle. Rub the paper evenly once placed, so that there are no air bubbles.
- Let the image and Photo Transfer sit on the bottles for 12 hours.
- Use a damp rag to dab a section of the paper at a time. Then, use the rag to rub the image in a circular motion to remove paper backing.
- Once image is mostly clear, brush a layer of Photo Transfer onto photo as a top coat to protect the image. Let it dry.
- Place the potion bottles onto a bar cart with your other Halloween decor.
Other Materials:
- Assortment of Liquor Bottles, Clean of Labels
- Laser-Printed Potion Labels, Cut to Size
- Painter's Tape
- Paper
- Ruler
Locate a Rust-Oleum Retailer
Rust-Oleum products are sold at retailers across the country. Use our store locator to find Rust-Oleum products at retailers near you.
