
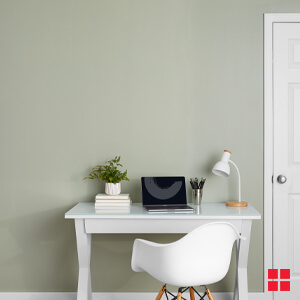
AFTER
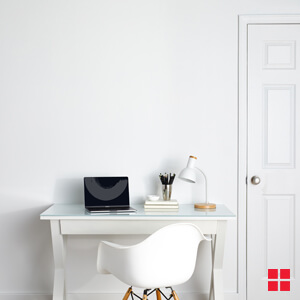
BEFORE
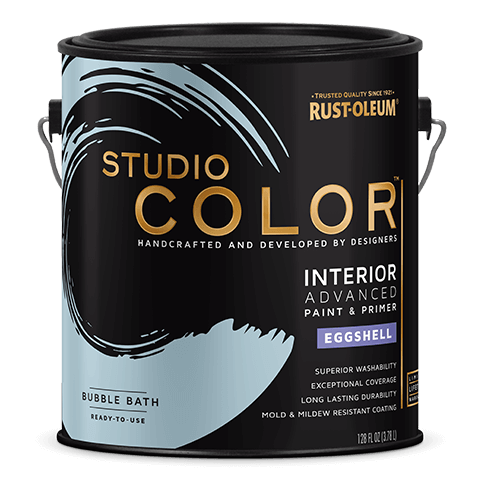
Painting a room is an easy way to give it a brand new look. See how Rust-Oleum’s Studio Color Wall Paint in Clay Mask transformed this home office. Follow the steps below to use this muted green, or any other paint color, in your own space.
- First, inspect your walls for any cracks or holes. We recommend DAP spackling products to repair any small wall damage prior to painting. After applying spackle, sand walls to a smooth surface according to package directions, we suggest Gator Finishing sanding products.
- It’s a good idea to clean your walls with mild, non-oily soap and water before painting. Be sure to let your walls dry completely.
- If your new paint color is lighter than the existing one, we suggest priming first with Zinsser Bulls Eye 1-2-3 primer. It’s also a good idea to use paint primer before you paint new drywall, bare wood, and metal surfaces for better paint adhesion.
- Apply painter’s tape to protect baseboards and other areas that you don’t want to put wall paint on, such as trim, molding and light fixtures. Make sure to have a tight seal when applying painter’s tape to ensure no paint seeps underneath the tape. We suggest using a drop cloth or plastic sheeting to protect your floors. as well.
- Be sure to properly mix your wall paint with a stir stick prior to pouring it into a paint tray. If your project requires more than one can of paint, mix them together in a larger bucket. Be sure to only combine cans of paint if the colors and sheens are the same.
- Use a high-quality, angled brush to cut in around the trim and the top and bottom areas of your wall first. Without reloading your brush, make a second pass over your first stroke. Finish by feathering out the edge and dragging the tips of the paint brush bristles lightly over the outside line to help spread the paint. This technique will provide a smooth appearance after roller application. Be sure to keep a wet edge and not let the paint dry before rolling paint onto wall.
- Use a high-quality roller with a 3/8” – ½” nap to apply paint in a “W” motion from top to bottom, working in small sections until it is completely filled in. Overlap your strokes for best coverage and be sure the roller is consistently reloaded with paint to keep a wet edge. Painting in a “W” motion will ensure equal distribution of paint and even coverage on your wall. Using an extension pole with your roller can help you reach the highest sections of your wall.
- Gently remove painter’s tape when paint is dry to the touch, but still slightly tacky. Work slowly to ensure paint doesn’t pull up with the tape.
- Clean up spills, splatters and paint tools with mild, non-oily soap and warm water.
- Wait 24 hours before hanging pictures and other décor on your wall. Enjoy your newly painted room!
Products in this Project
Other Materials:
- Painter's Tape
- Drop Cloth
- Paint Tray
- Stir Stick
- Brush
- Roller
Locate a Rust-Oleum Retailer
Rust-Oleum products are sold at retailers across the country. Use our store locator to find Rust-Oleum products at retailers near you.
