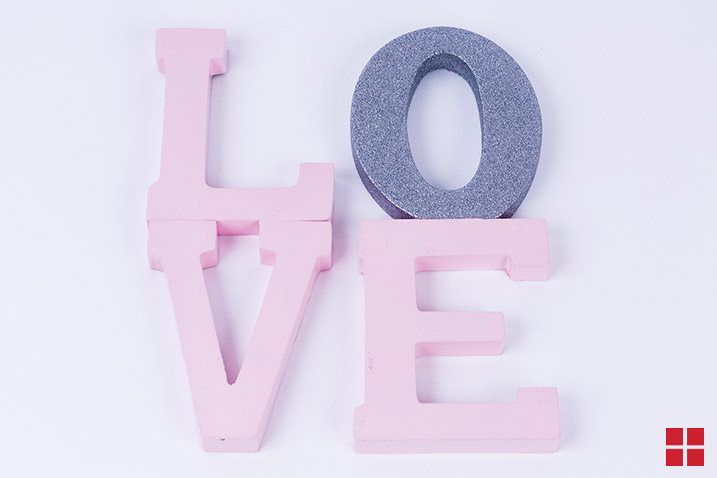
These wooden painted letters are easy to love when you add a few coats of spray paint. Here’s how we made them:
PREPARE: Set up your work space in a well-ventilated area and use a drop cloth to protect your surroundings from overspray.
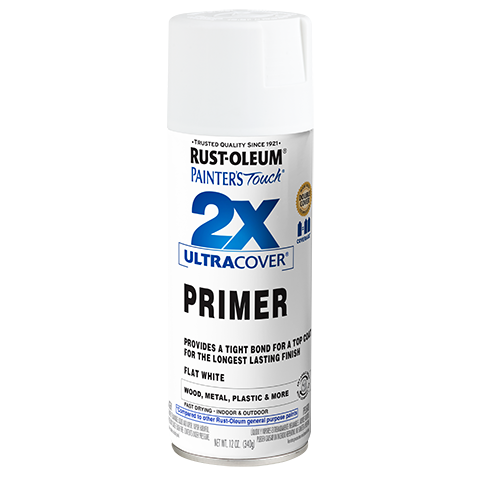
PRIME: Start out with a coat of primer for each letter. Shake your can of Rust-Oleum 2X Ultra Cover Spray Primer in Flat White for one minute after the mixing ball begins to rattle. Then, hold the can 10-16 inches away from the letters, and spray the primer in a steady, sweeping motion. Apply two or more light coats a few minutes apart. Be sure to cover all sides of the letters.
PAINT: Now that your letters are primed, it’s time to paint your “L,” “V” and “E” letters. Shake your can of Rust-Oleum 2X Ultra Cover Gloss Spray Paint (we used Candy Pink) for one minute after the mixing ball begins to rattle. Then, apply 2-3 light coats a few minutes apart using the same technique you used to prime the letters. Set the letters aside to dry.
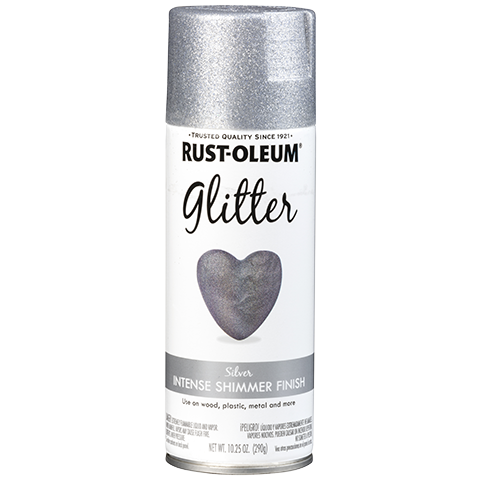
GLITTER: Now, it’s time to paint the letter “O.” Shake and apply your Rust-Oleum Glitter Spray Paint (we used Silver) in a similar fashion to how you applied the pink paint, except this time, hold the can 12-14 inches away from the letter. Apply multiple light coats until you’ve built up the glitter to your desired look.
SEAL: Once your letter “O” is completely coated in glitter, apply Rust-Oleum Glitter Clear Sealer to the letter using the same technique. Then, let all of your letters dry for at least an hour.
GLUE: Follow the directions on your extra-strength glue’s label to attach the letter “L” to the top of the “V” and the “O” to the top of the “E.”
FINISH: Let the glue dry completely before displaying.
Products in this Project
Other Materials:
- Wooden or Paper Mache Letters (L-O-V-E)
- Extra-Strength Glue
- Drop cloth
- Tack Cloth


