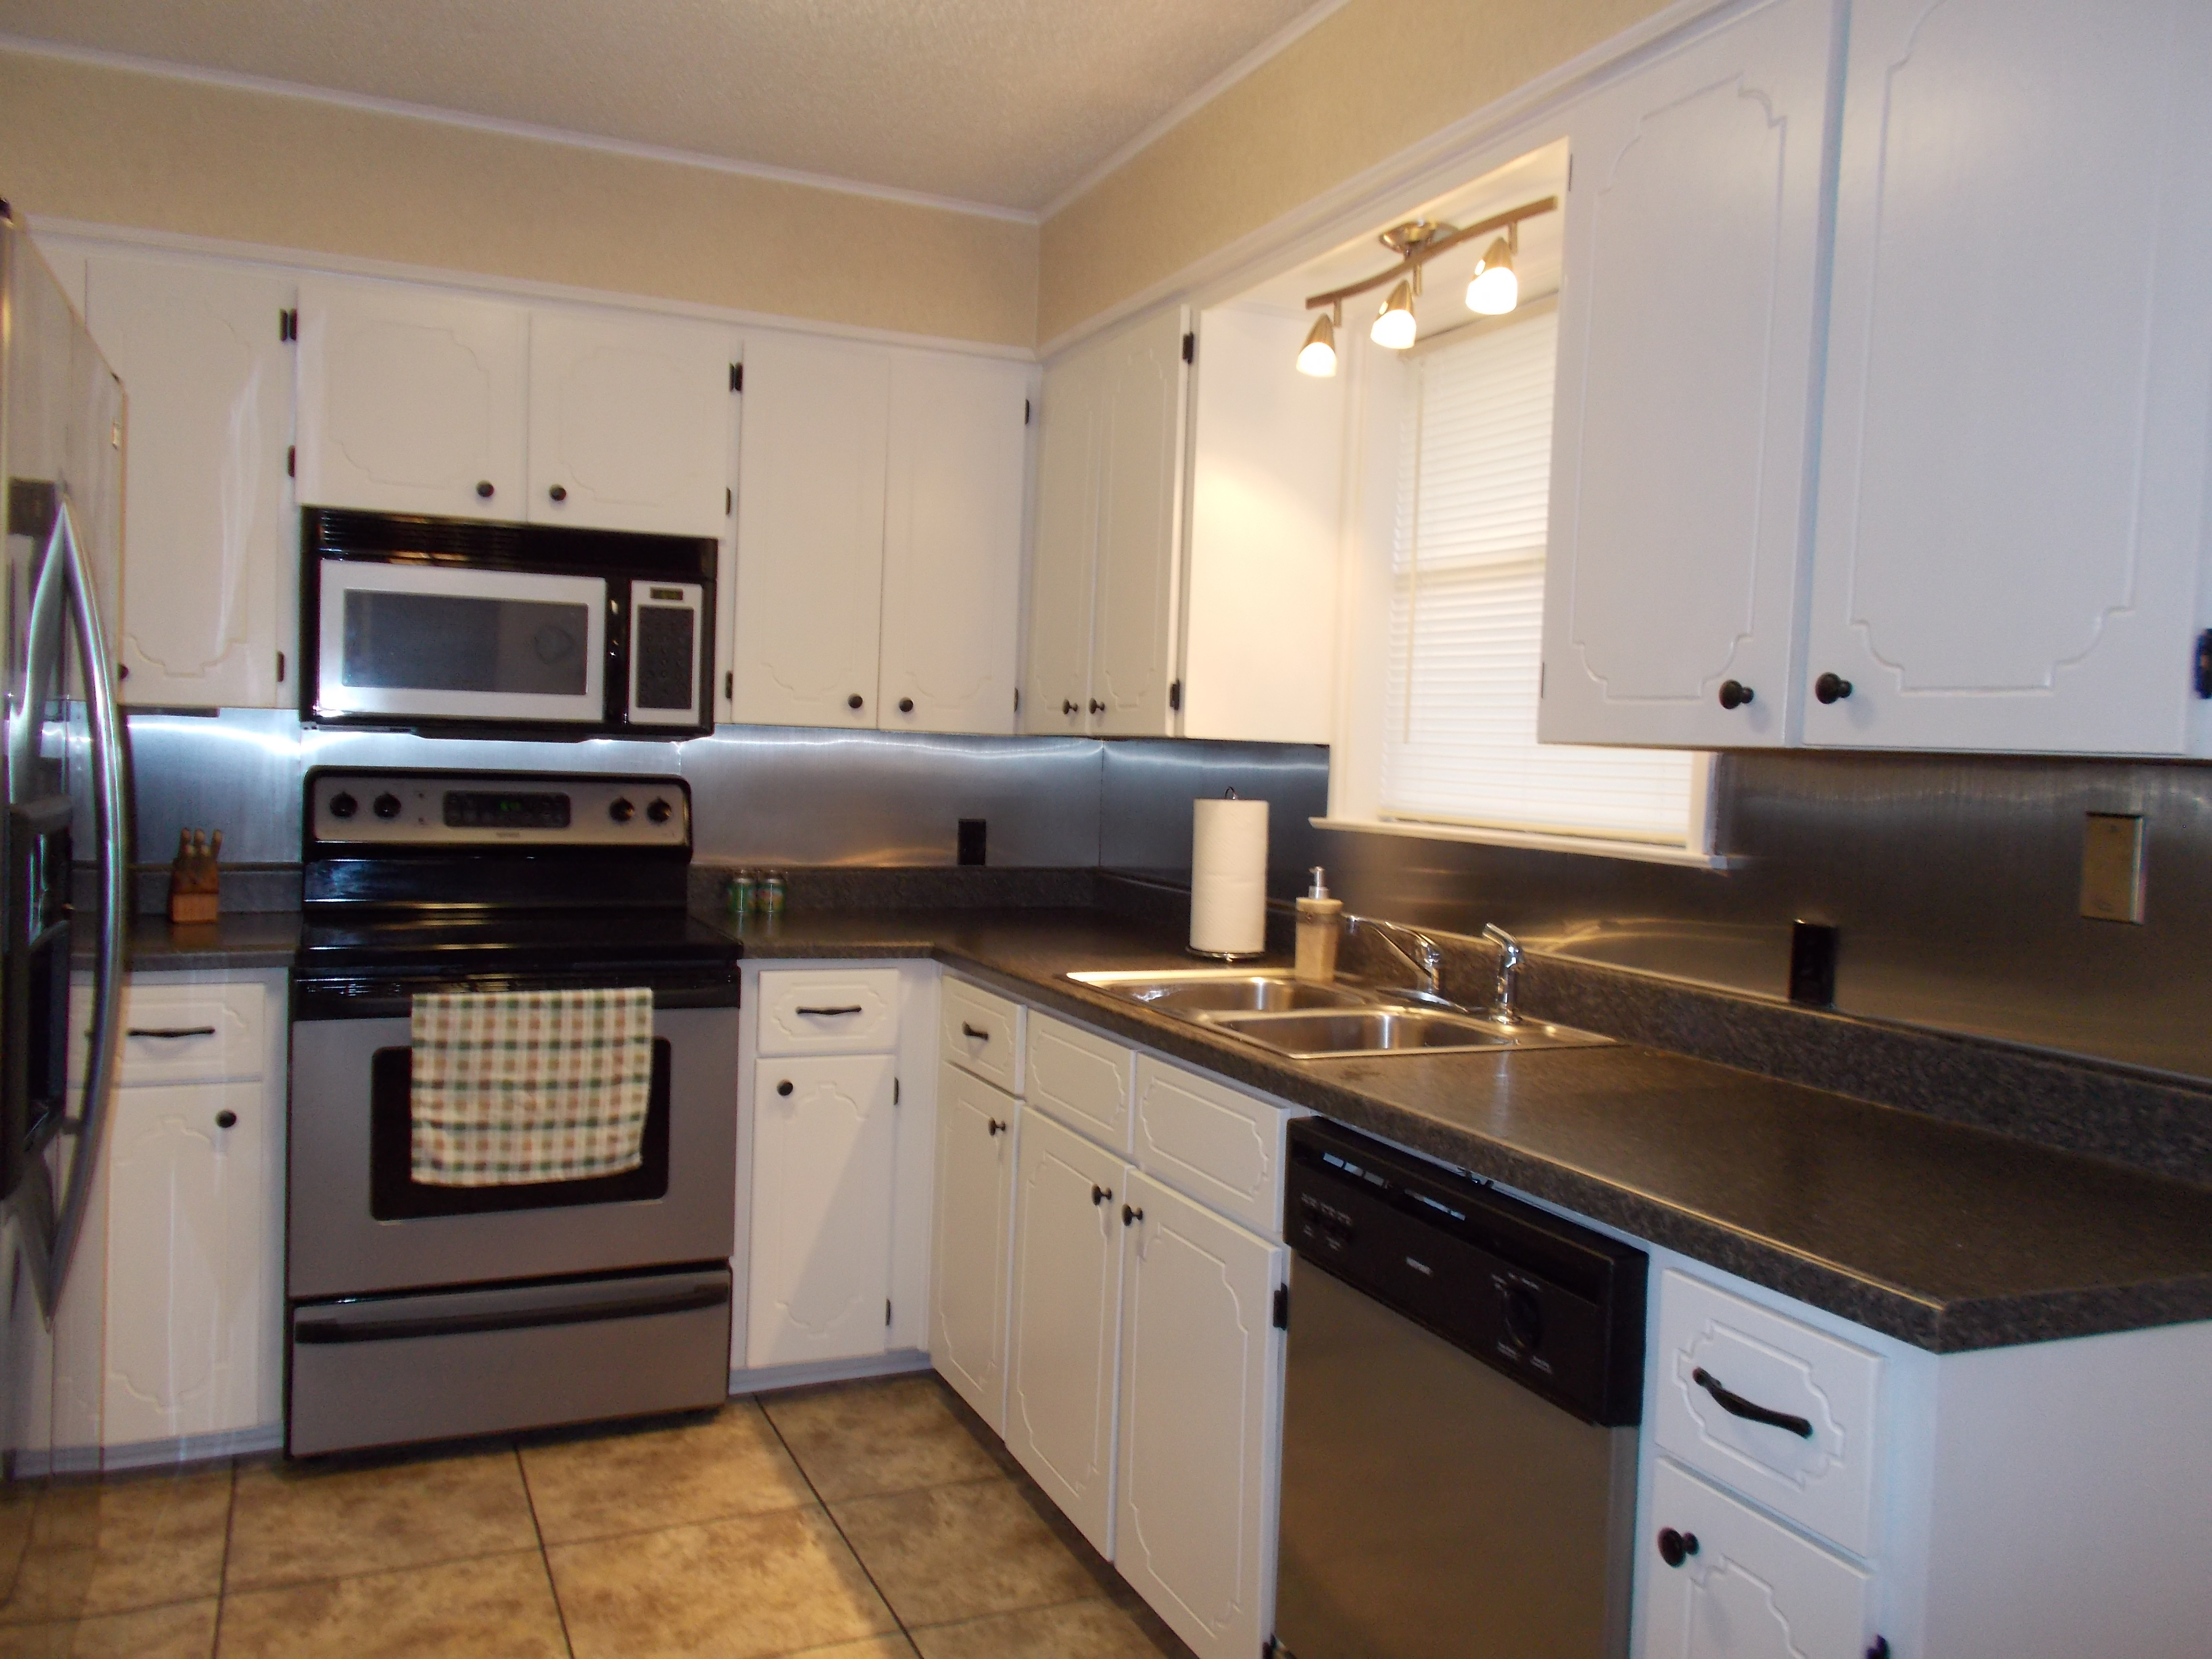


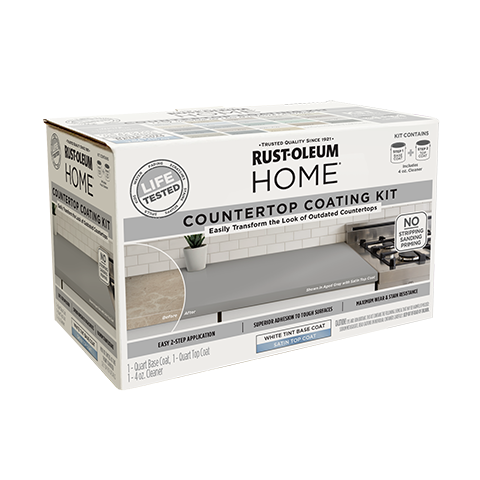
Transform your kitchen in one day with Rust-Oleum HOME® Countertop Coating Kits. Say goodbye to outdated countertops without the cost of replacement. This innovative, 2-step system is not just any paint; it's a durable solution designed to breathe new life into a variety of countertop materials including laminate, vinyl, butcher block, concrete, porcelain and stone.
The white tint base kit can be used to paint countertops ultra white, soft shades of gray, blue, taupe and other light colors. Simply choose a color and have the coating tinted at the paint counter.
- No stripping, sanding or priming required
- Maximum wear, scratch and stain resistance
- Ready for light use after 24 hours

For Best Results
Clean countertop with included cleaning solution. Apply Base Coat with high-quality brush for trim and 3/8” nap roller cover for an even surface coat. To paint countertops white, 2 coats are required. Wait 4 hours before making any necessary touch-ups. When touched-up areas are dry to touch (about 1-2 hours), apply required Top Coat using a high-quality, ¼” nap roller cover. If second coat is desired, wait 1-2 hours between coats.
KIT CONTENTS
- 1 Quart White Tint Base Coat
- 1 Quart Satin Top Coat
- 4 oz. Heavy-Duty Cleaner