- Ultimate Coverage
- Smooth, durable finish
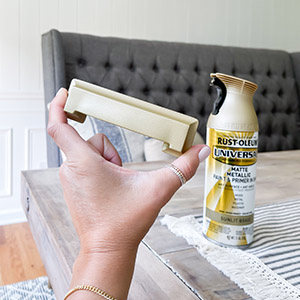
- Any-angle spray with comfort spray tip
For Best Results
Apply 2 or more light coats a few minutes apart. Spray in a steady back-and-forth motion.
Available Sizes
- 12 oz. Spray


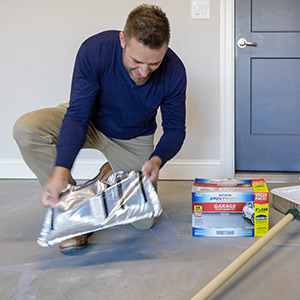
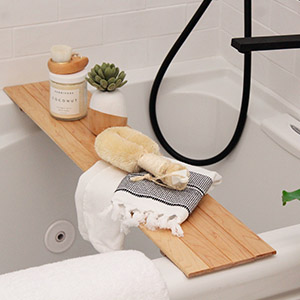
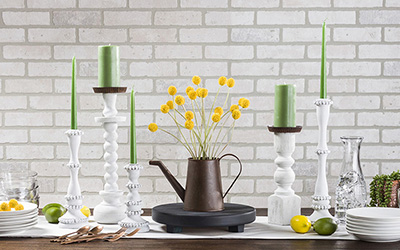
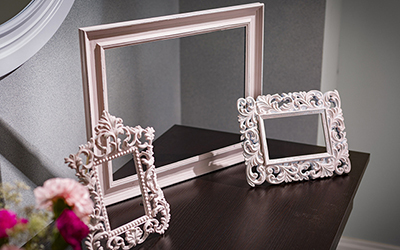
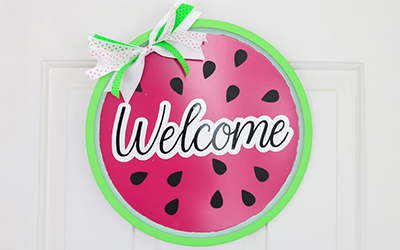
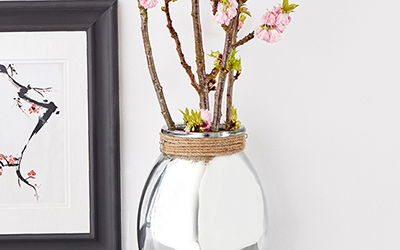
DIY projects let you express your creativity and lead to a sense of accomplishment. Whether you’re painting furniture or making holiday crafts, Rust-Oleum products can help you achieve great results.

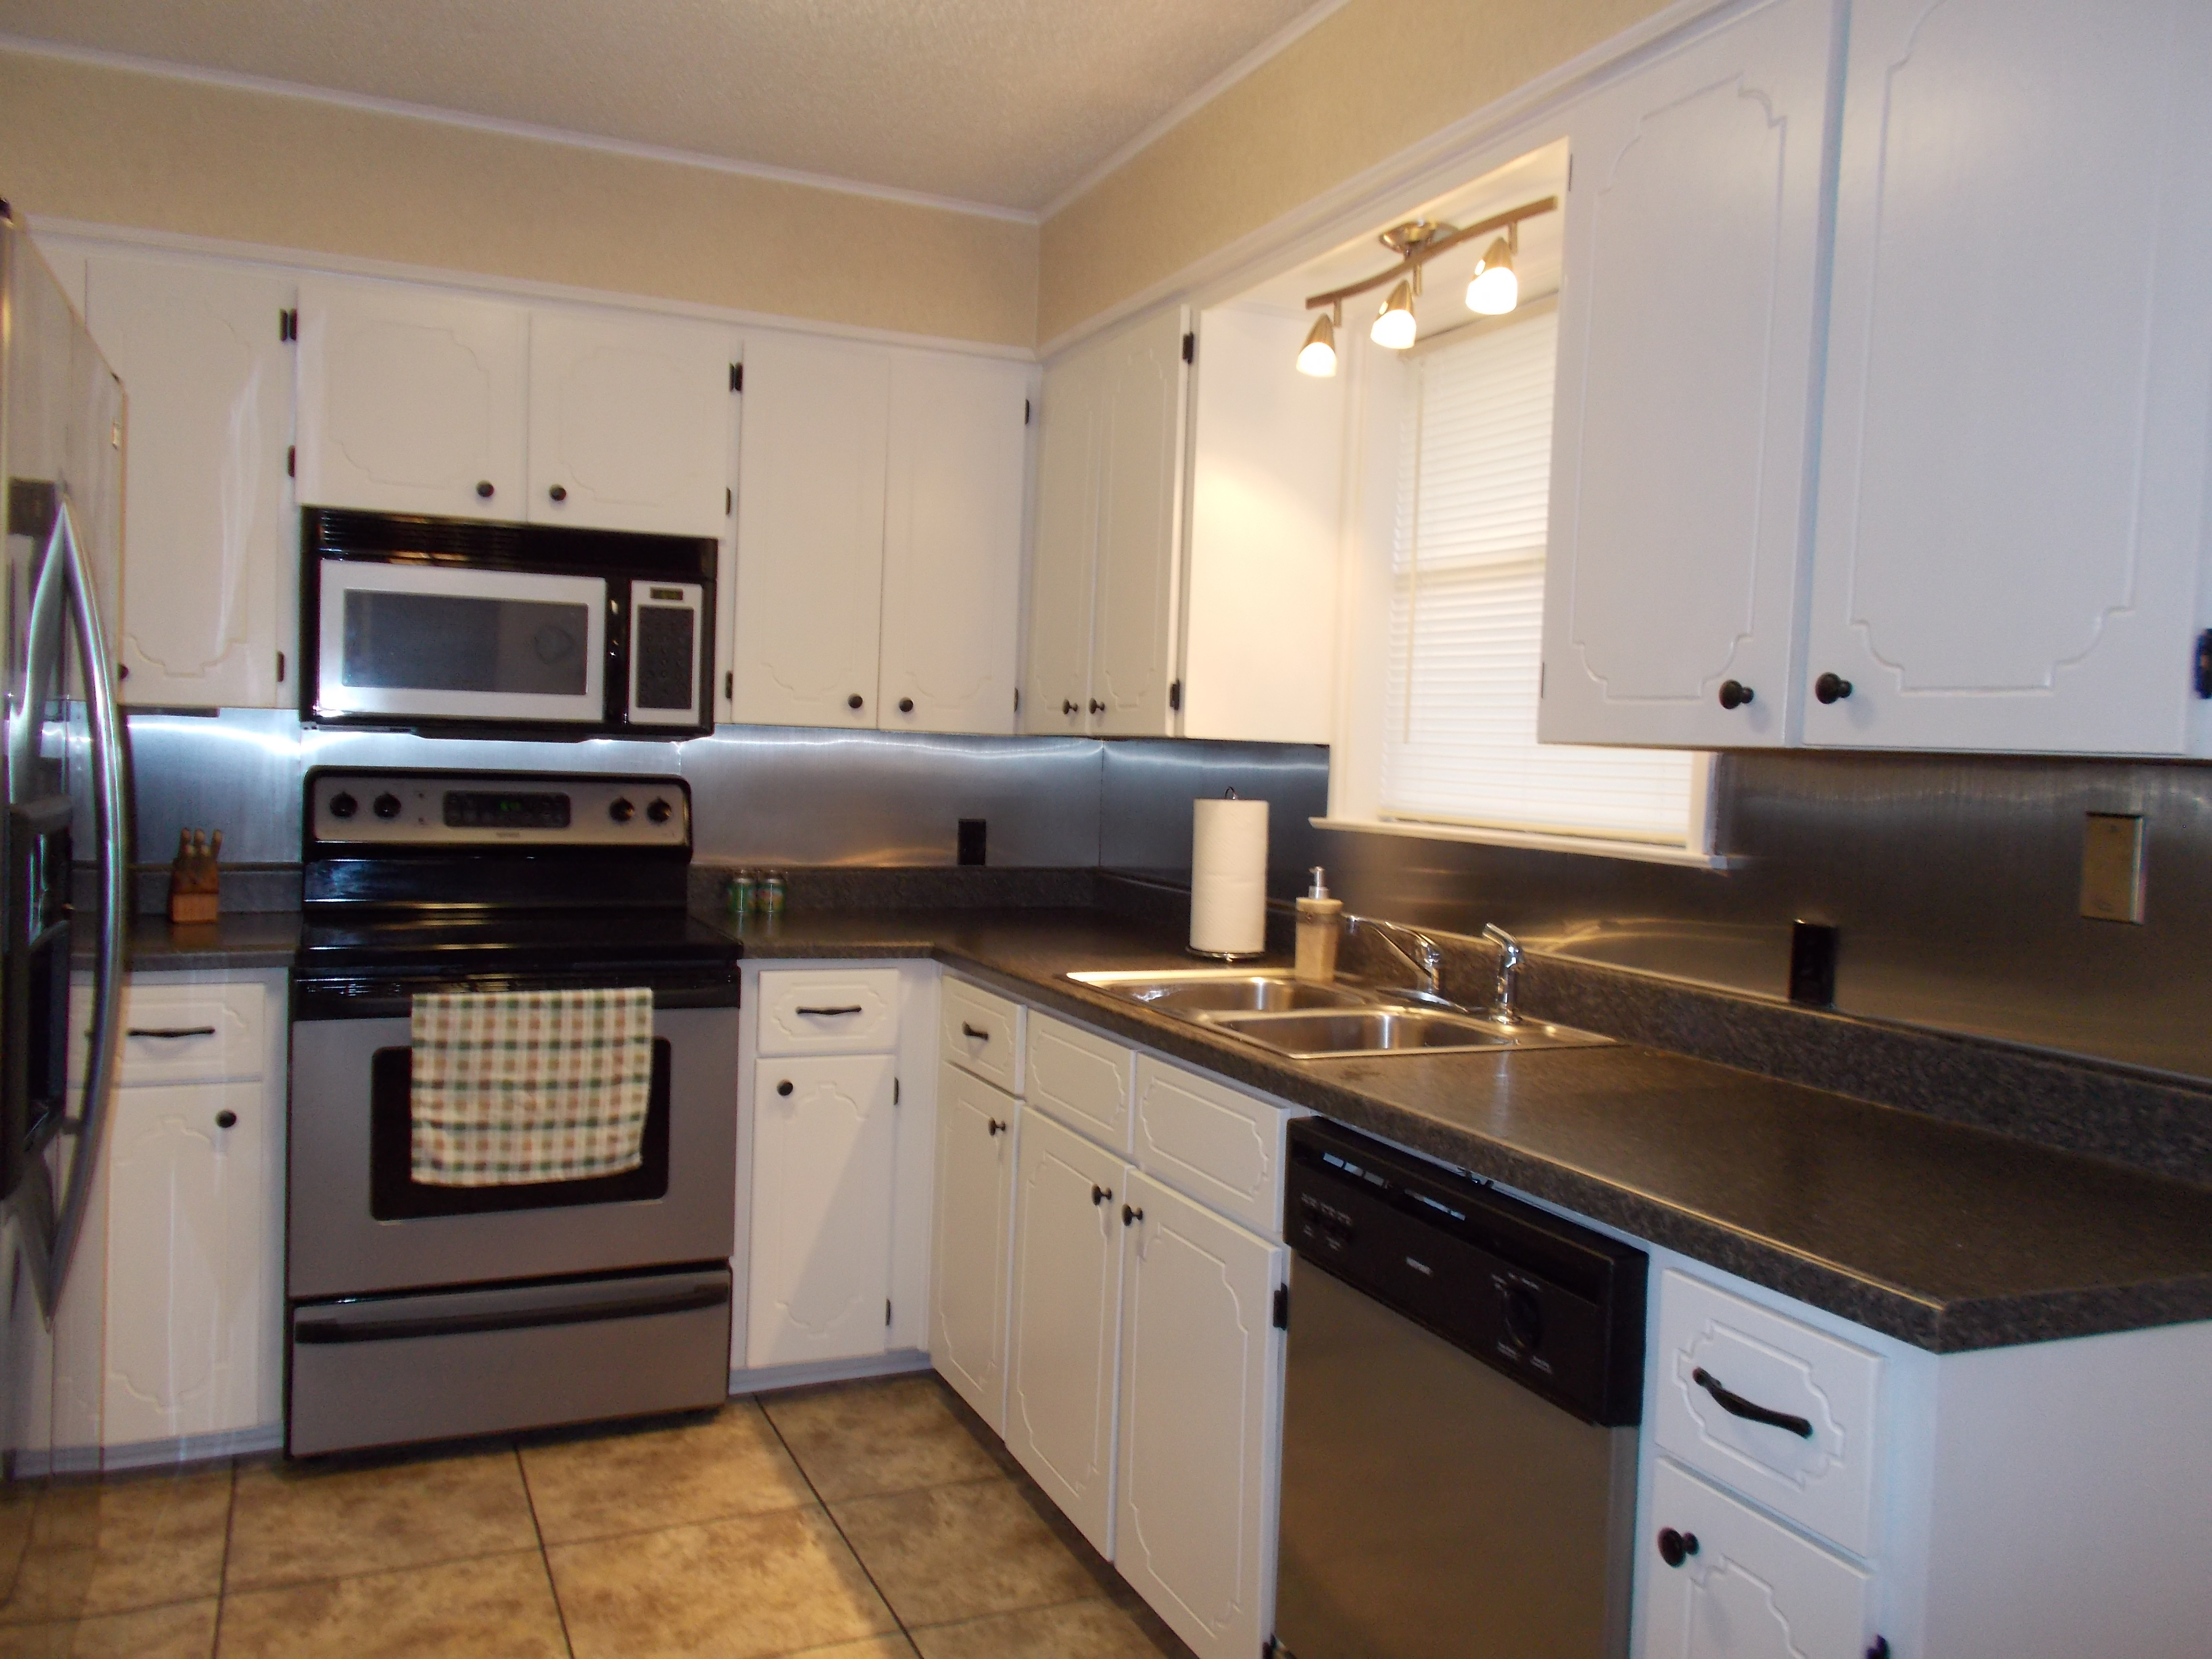
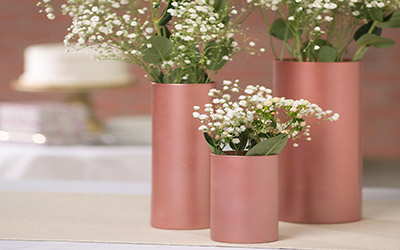
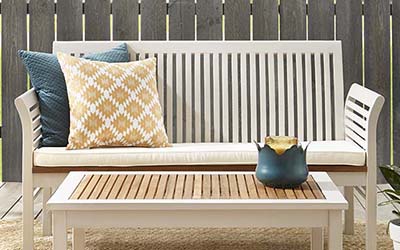
The breakthrough Advanced Cover Technology of American Accents 2X Ultra Cover provides superior coverage - which means your project will be done in less time and you can enjoy it faster. Plus this smooth, glossy finish comes in a large selection of on-trend, vivid colors.
For Best Results
Apply 2 or more light coats a few minutes apart. Spray in a steady back-and-forth motion.
Available Sizes
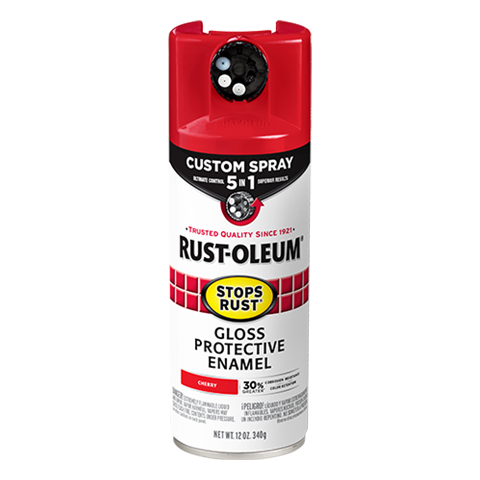
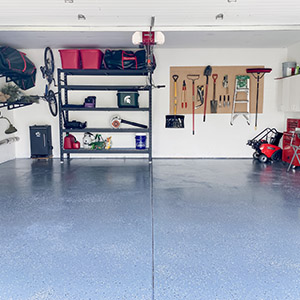
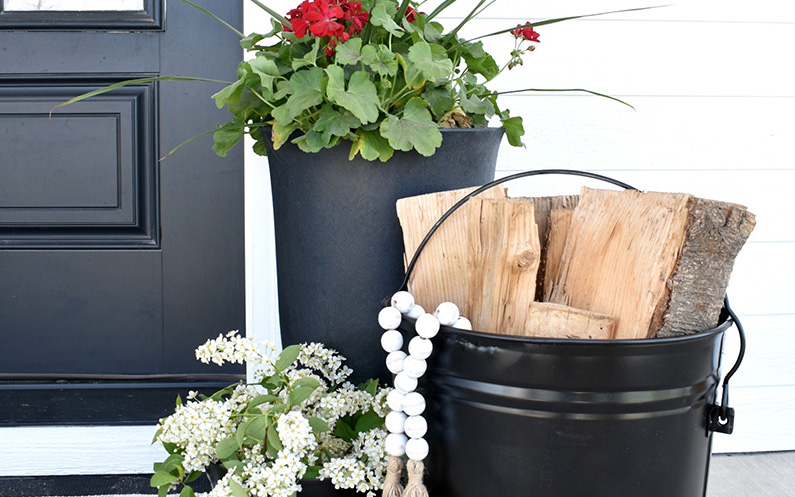
Rust-Oleum® Stops Rust® Protective Enamel with Custom Spray 5-in-1 lets you choose from five spray patterns with a twist of the dial. Use the high output spray for large curved surfaces, standard for a traditional experience, low output for details and corners without drips and runs, and vertical or horizontal fans for flat surfaces. Whether you’re painting wide spaces, tight corners or textured surfaces, Protective Enamel with Custom Spray 5-in-1 gives you ultimate control for superior results. When you're done, turn the dial to the lock position and store the remaining spray paint for your next project.
The advanced Stops Rust formula delivers 30% greater corrosion resistance and enhanced color retention compared to original matching Stops Rust colors with the standard spray paint tip. The durable, protective coating provides ultimate rust prevention for a long-lasting finish and excellent resistance to abrasion, fading, chipping and dulling. Apply this fast-drying paint on indoor and outdoor metal and wood projects for a long-lasting superior results.
Stops Rust® Protective Enamel with Custom Spray 5-in-1 features:
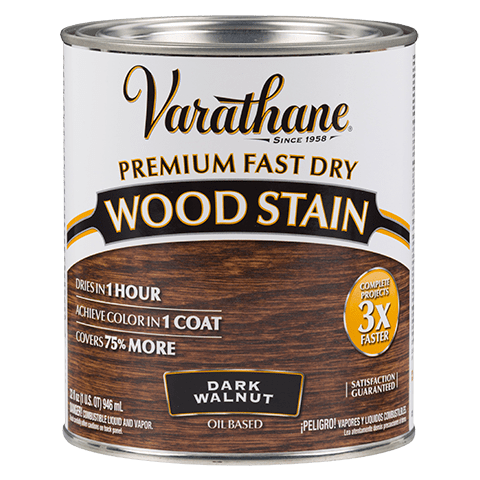
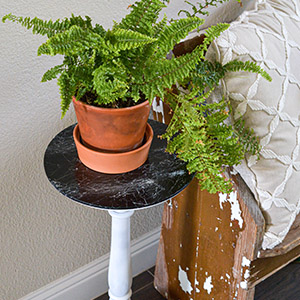
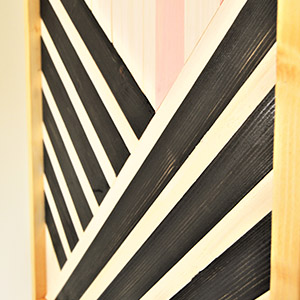
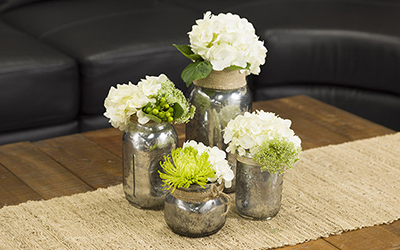
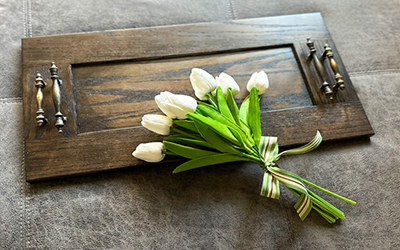
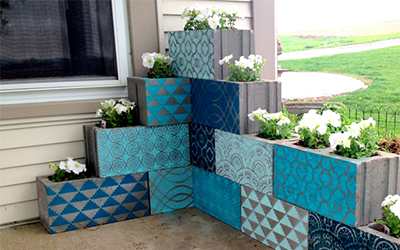
Bring out the beauty of natural wood—lightning fast—with Rust-Oleum® Varathane® Fast Dry Wood Stain. This high-performance stain features nano pigments, which intensify color clarity and highlight wood grain, delivering the perfect shade in just one coat.
For Best Results
Available Sizes